A Beginner's Guide to Identifying UK Seaweed on the Shore
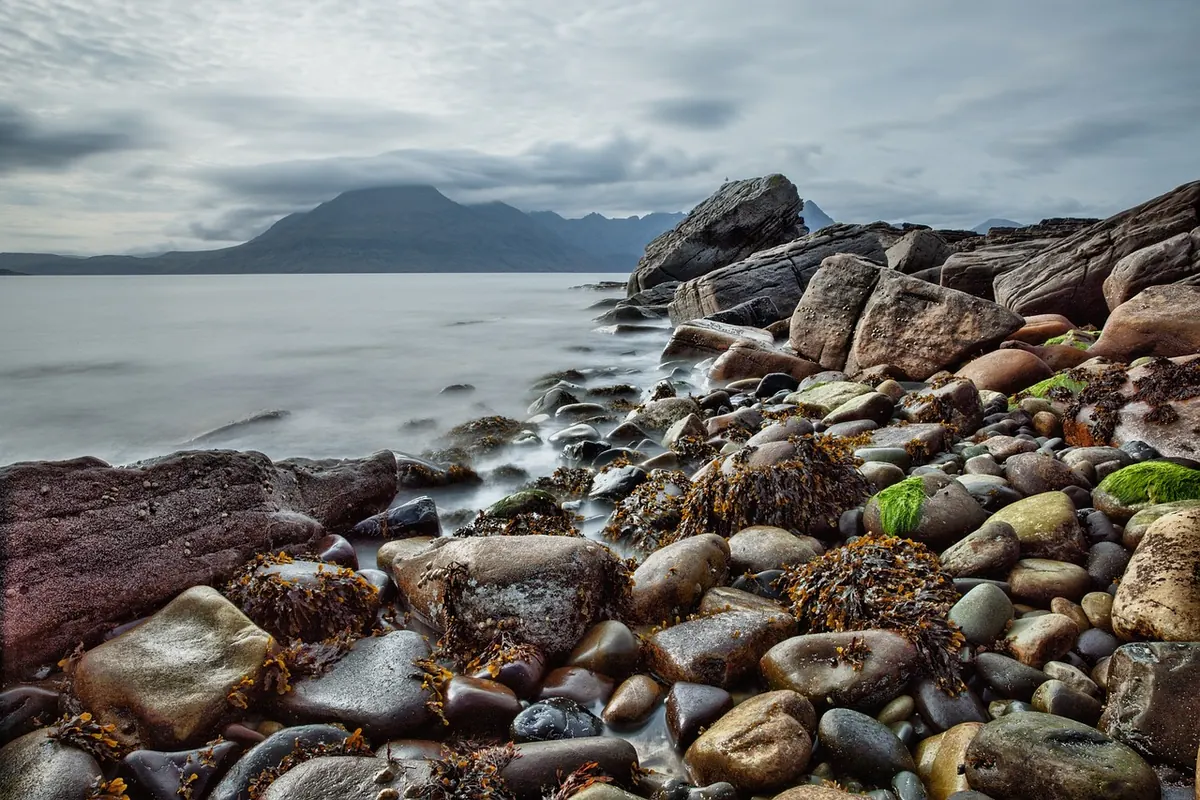
The first time you crouch over a rocky shore at low tide, seaweed can look like an undifferentiated mess: brown sludge, green ribbons, a slippery film over everything. Give it half an hour and a bit of method, though, and it resolves into patterns. Some species live high on the shore and dry out twice a day. Others are only exposed on the lowest spring tides. Once you know which zone you are standing in, identification gets far easier.
Three things worth knowing before you start
Seaweeds are algae, not plants. They have no roots, no flowers and no plumbing of veins and stems. The holdfast that grips the rock is an anchor, not a root: it doesn't draw up water or nutrients. That matters later, when we talk about what you should and shouldn't pick.
Almost everything you meet belongs to one of three broad groups: brown, red or green. The colours come from different pigments, and they reflect different strategies for surviving in the sea. Red seaweeds are the ones that catch people out. Many are deep crimson underwater but dry to black, and in shade they can look distinctly brown. Don't rely on colour alone.
The third thing is zonation. The shore is a gradient of exposure, and species sort themselves along it. Learn two or three marker species and you can place yourself instantly: egg wrack means mid-shore, channelled wrack means you are almost at the top, sugar kelp means you are getting close to low water.
A basic kit is cheap and makes the whole thing more enjoyable:
- A tide timetable, printed or on your phone
- Wellies or shoes with real grip
- A white tray or an old ice-cream tub
- A hand lens, and a coin or small ruler for scale in photos
- A notebook, or your phone's notes app
Brown seaweeds: the wracks and the kelps
The wracks are the classic mid-shore browns. They feel tough and leathery, and once you learn the differences between them you will never mix them up again.
Bladderwrack (Fucus vesiculosus) has pairs of round air bladders sitting either side of a clear central midrib. The bladders are what keep the frond upright in moving water. Egg wrack (Ascophyllum nodosum) has single, egg-shaped bladders and no midrib at all. It grows slowly and can live for decades, which is one reason to be gentle with it.
Higher up the shore, spiral wrack (Fucus spiralis) has no bladders and fronds twisted like a screw. Lower down, serrated wrack (Fucus serratus) is easy to spot because of its saw-toothed edges.
The kelps are bigger and live lower. Sugar kelp (Saccharina latissima) is a single long, undulating blade with crinkled edges, usually a yellowish brown. Oarweed (Laminaria digitata) splits into finger-like strips, like a hand. Both are anchored by a dense tangle of root-like fingers called a holdfast.
Red seaweeds: colour is a poor guide
Dulse (Palmaria palmata) is rose-pink to deep red with broad, hand-shaped fronds, and it often grows as an epiphyte on kelp stipes. Carrageen, also called Irish moss (Chondrus crispus), is a dark purple-red fan that turns iridescent blue and turquoise when submerged and catching the light. It is one of the loveliest things on a UK shore and worth simply stopping to look at.
Coral weed (Corallina officinalis) is pink, chalky and jointed, like a string of tiny beads. It often forms dense tufts in rockpools and is easy to mistake for something animal. Pepper dulse (Osmundea pinnatifida) is small and flat-branching, and a fragment held on the tongue tastes unmistakably of pepper. Laver (Porphyra) forms thin, translucent purple-green sheets that feel like wet tissue paper.
Green seaweeds: sheets and tubes
Green seaweeds are the easiest group to get started with. Sea lettuce (Ulva lactuca) is bright green, very thin and ruffled, and you can usually see your hand through it. Gutweed (Ulva intestinalis) is bright green too, but hollow and inflated into tubes that look uncomfortably like intestines. It is abundant in rockpools and often around freshwater runoff.
If you find something green that resembles wet cotton wool, you are probably looking at a filamentous green such as Cladophora. It is common, fine to note in your records, and rarely worth a second glance.
Safe and ethical shore surveying
Rocky shores are working habitats, not collections of specimens laid out for us. A few habits keep you safe and leave the shore intact.
- Go on a falling tide and turn back well before low water. Tell someone where you are going and when you expect to be back.
- Watch your footing. Wet rock and seaweed are genuinely slippery. Keep your hands free and avoid scrambling over boulders alone.
- Don't pull attached seaweed. Take loose strands from the strandline or floating pieces instead. If you want to study an attached frond, look, draw or photograph it where it grows.
- Replace rocks exactly as you found them. Everything under a stone depends on the damp and the dark, and a flipped rock can be a small disaster for the animals sheltering there.
- Check local rules. Many UK shores sit within protected sites such as SSSIs, marine conservation zones or nature reserves, where collecting may be restricted or prohibited. Ask the local wildlife trust or check the site's own guidance. If you are unsure, photograph it and leave it.
- Take only what you need, and only for personal use. One frond for the kitchen is plenty; a carrier bag is not.
- Never eat anything you cannot identify with complete confidence, and never harvest from harbours, marinas or near outfalls. If there is any doubt at all, leave it.
Look, note, photograph, and leave the holdfast where it is.
Wash your hands afterwards, and keep to established paths on the walk back. A shore that is visited carefully can be visited again and again.
A simple routine for a first survey
Pick a spring low tide, arrive about an hour before low water, and walk a line from the top of the shore down to the water's edge. Every few metres, stop and record what is growing there: the species, roughly how high up you are, whether it was in a pool, and a photo with a coin for scale. That is a transect, and it takes about forty-five minutes.
Most beginners find the same five or six species dominate. Repeat the same line in a different season and you will see the community shift. Don't chase rare species at first. Get the common ones right, learn where each one sits on the shore, and the oddities will stand out on their own.
If something stumps you, a good photograph plus notes on shore height, texture and whether it was submerged or exposed is far more useful to an expert than a fading specimen in a bag. Identification is a slow skill, and the shore rewards patience more than enthusiasm.
Photo: FrankyFromGermany / Pixabay